What Is An AC Condenser And What Does It Do?
Air conditioning has become an essential aspect of modern living, especially during those scorching summer months. But have you ever wondered what makes your AC system work so efficiently? One of the critical components is the AC condenser. In this blog post, we’ll explore what an AC condenser is, its role in your air conditioning system, and why understanding it can help you maintain a cooler home. Here’s what we’ll cover:
- Understanding an AC Condenser
- Different Types of AC Condensers
- Signs Your AC Condenser Needs Maintenance
- Common AC Condenser Problems
- Benefits of Regular AC Condenser Maintenance
- Professional Maintenance vs. DIY
- FAQs
🤔 Understanding an AC Condenser
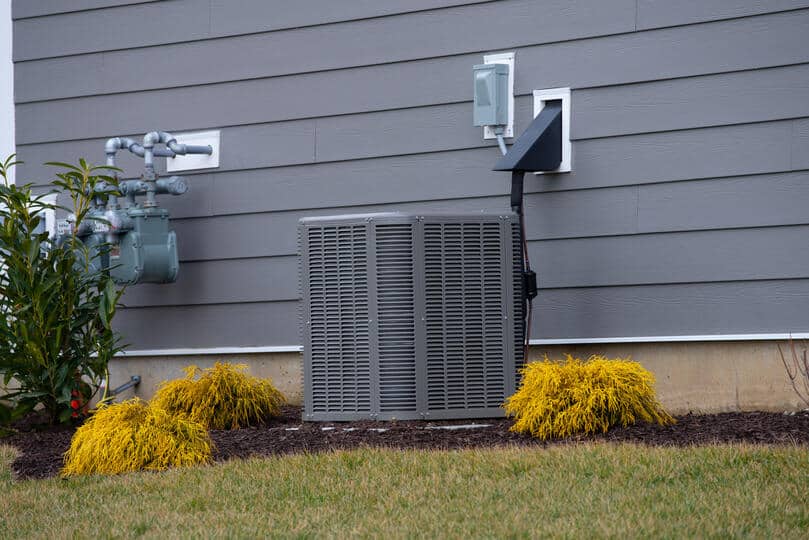
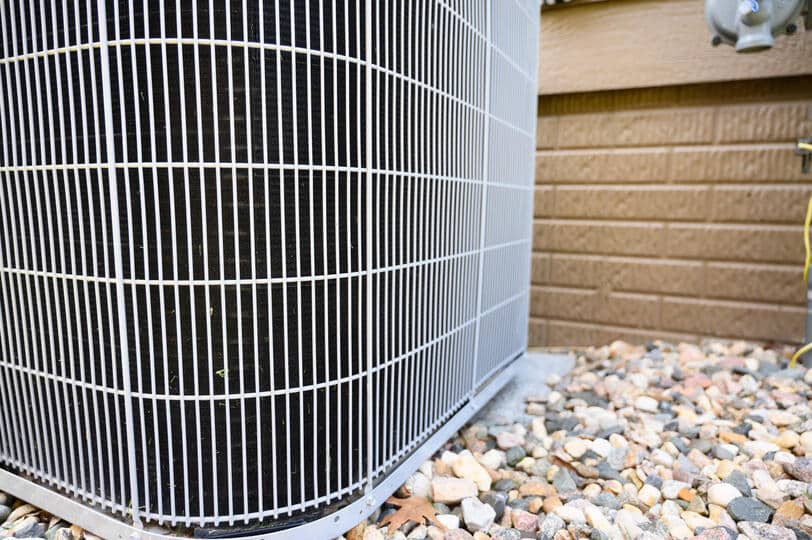
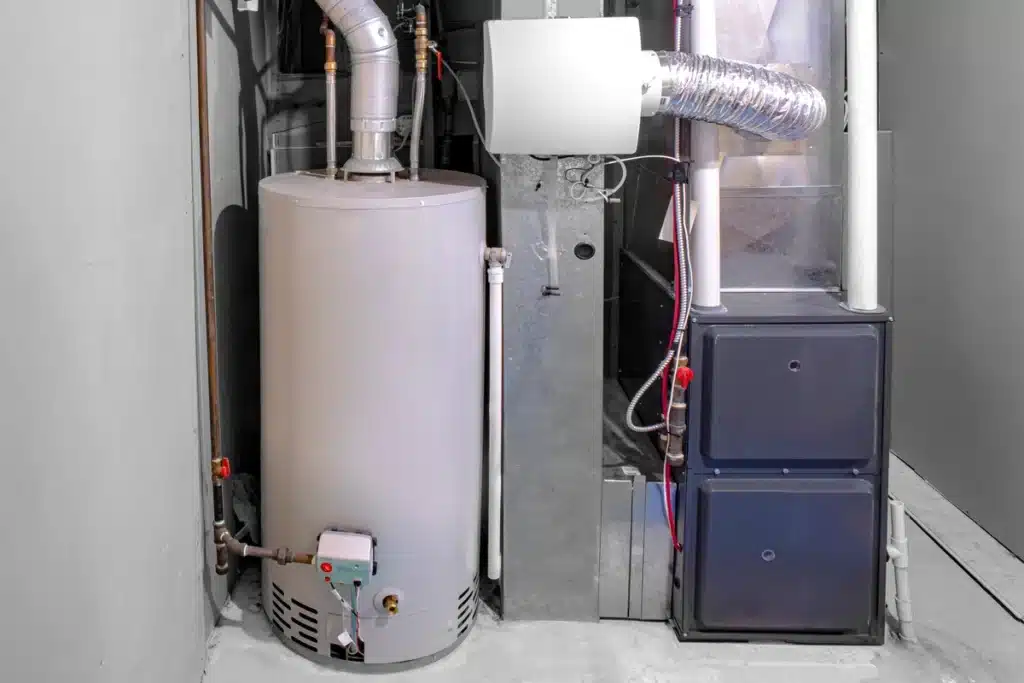
The AC condenser unit is a vital part of your air conditioning system. It plays a crucial role in converting refrigerant gas into a liquid, which helps in the cooling process. Typically located outside your home, the condenser is responsible for releasing the heat absorbed by the refrigerant inside your home.
While it may seem complex, the condenser’s operation is straightforward once you understand its components and function.
How an AC Condenser Works
Understanding how an AC condenser works is crucial for maintaining optimal cooling efficiency in air conditioning systems. This knowledge can help homeowners troubleshoot issues and ensure their units operate effectively, ultimately prolonging the lifespan of the system.
The Cooling Process
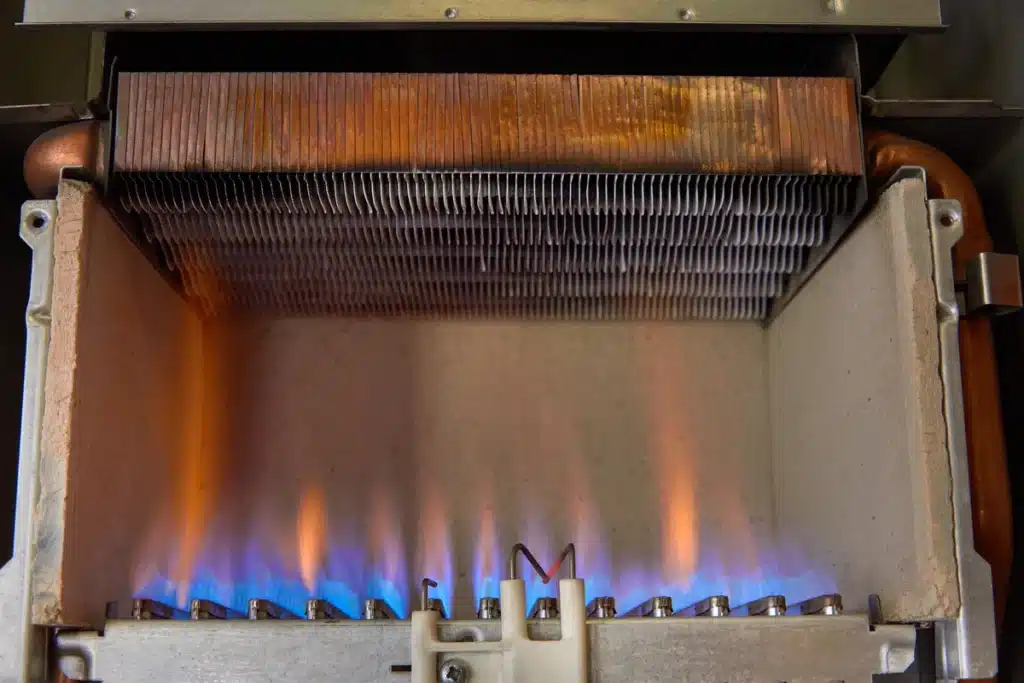
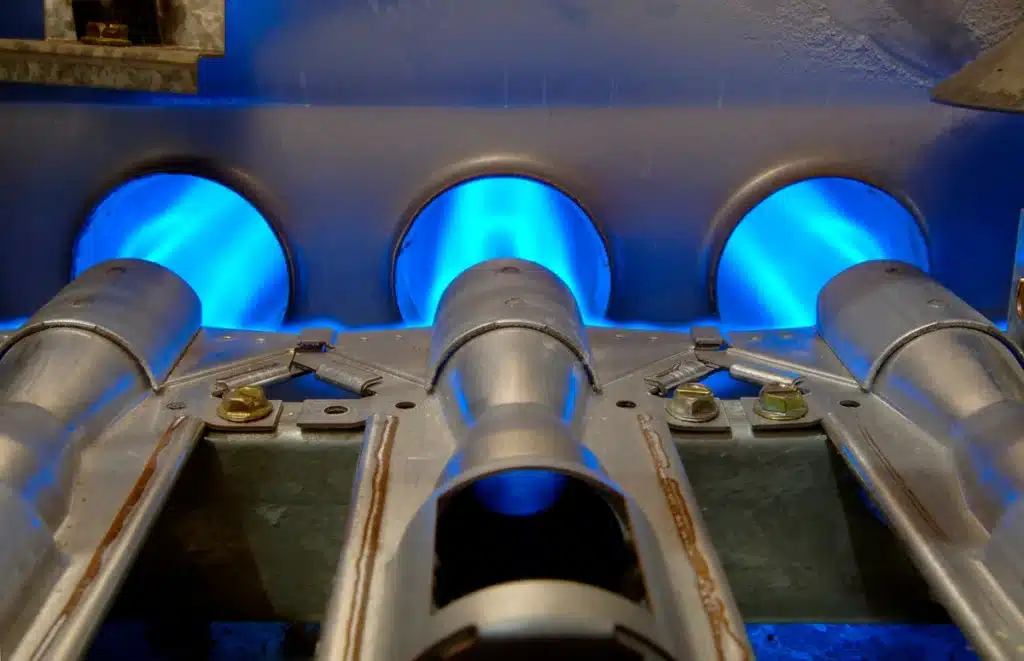
The primary role of an AC condenser is to release the heat that the refrigerant absorbs from inside your home. When the refrigerant gas reaches the condenser, it is compressed, causing it to become hot. This hot gas then flows through the condenser coils, dissipating the heat into the surrounding air.
Components of an AC Condenser
An AC condenser comprises several parts, including the compressor, condenser coils, fan, and refrigerant lines. Each component works together to ensure efficient heat release and cooling.
The Role of Refrigerant
Refrigerant is the lifeblood of your AC system, cycling between the evaporator and condenser. It absorbs heat from inside your home and releases it outside, keeping your indoor environment cool and comfortable.
Importance of the AC Condenser in Your AC System
The AC condenser plays a crucial role in your air conditioning system by dissipating heat from the refrigerant, allowing for efficient cooling. Without a properly functioning condenser, your AC system can struggle to maintain desired temperatures, leading to increased energy consumption and discomfort. Some key features of an AC condenser include:
- Efficient Heat Transfer: The AC condenser is crucial for efficient heat transfer. Without it, your air conditioning system would struggle to release the heat absorbed from your home, leading to poor cooling performance.
- Energy Efficiency: A well-maintained condenser ensures your AC system operates efficiently. This translates to lower energy bills and a reduced carbon footprint.
- Longevity of Your AC System: Regular maintenance and proper functioning of the condenser can extend the lifespan of your air conditioning system, saving you money on costly replacements.
Different Types of AC Condensers
Air-Cooled Condensers
Air-cooled condensers are the most common type found in residential AC systems. They use a fan to blow air over the condenser coils, dissipating heat into the surrounding air.
Water-Cooled Condensers
Water-cooled condensers use water to absorb and dissipate heat. These are typically more efficient than air-cooled condensers but require a water source and additional maintenance.
Evaporative Condensers
Evaporative condensers combine elements of both air-cooled and water-cooled systems. They use a fan and a water spray to cool the refrigerant, making them highly efficient but more complex.
⚠️ Signs Your AC Condenser Needs Maintenance
Regular maintenance of your AC condenser is crucial to ensure optimal cooling performance and energy efficiency. Neglecting its upkeep can lead to costly repairs and reduced lifespan, making it essential to recognize the signs that indicate it needs attention.
- Reduced Cooling Efficiency: If your AC system isn’t cooling as effectively as it used to, the condenser might be dirty or malfunctioning.
- Strange Noises: Unusual noises from the condenser unit could indicate a problem with the fan, compressor, or other components.
- Increased Energy Bills: A sudden spike in your energy bills could be a sign that your condenser is working harder than it should, often due to dirt or mechanical issues.
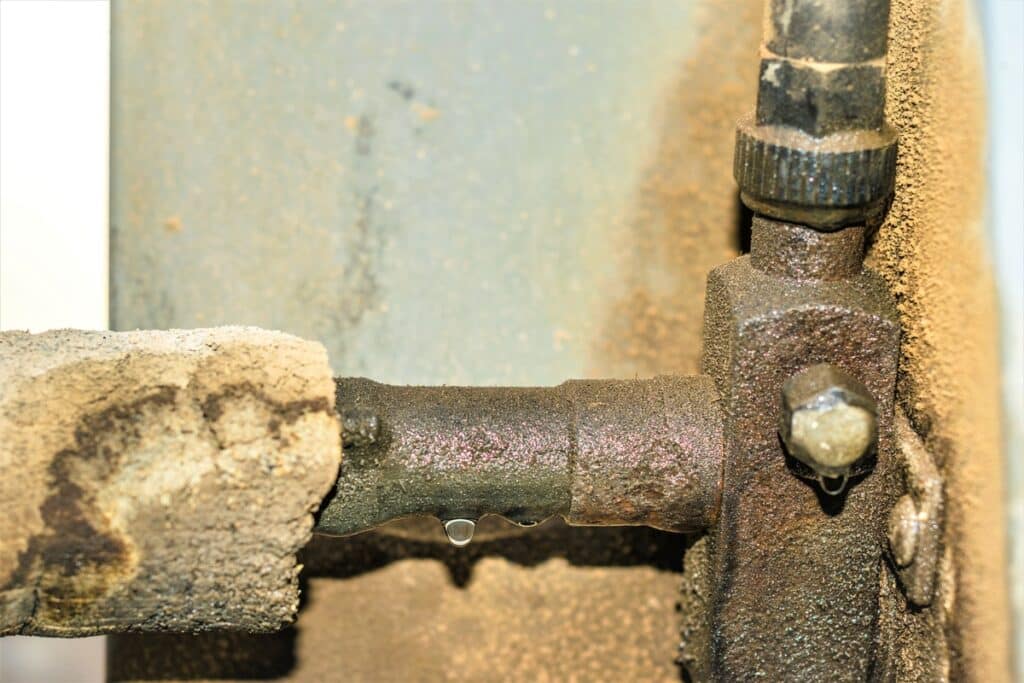
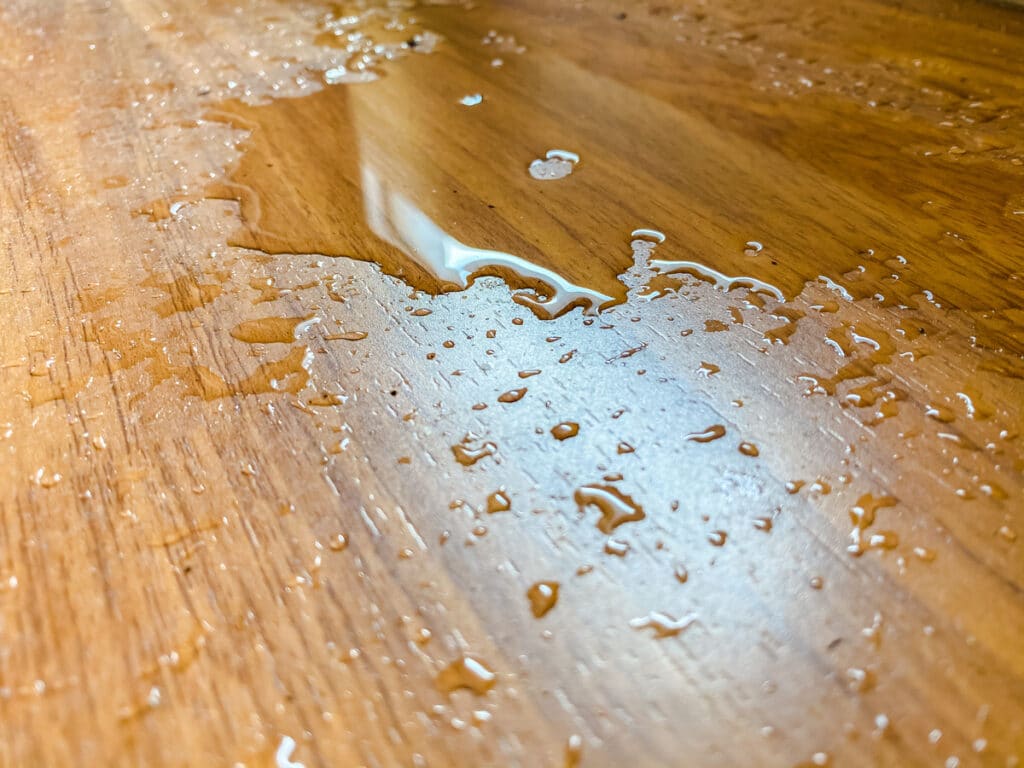
- Leaking or Pooling Water: If you notice water pooling around your AC unit, it could indicate a refrigerant leak or a blocked drain line.
- Frequent Cycling: If your AC turns on and off more often than normal, it may be a sign that the condenser is struggling to keep up.
- Foul Odors: Unpleasant smells coming from the unit can indicate mold or mildew buildup, which requires immediate attention.
- Poor Air Flow: If you’re experiencing weak airflow from the vents, it might point to issues with the condenser or ductwork.
- Age of the Unit: If your AC condenser is older than 10-15 years, regular maintenance becomes crucial to ensure its efficiency and longevity.
Common AC Condenser Problems

Understanding common AC condenser problems is crucial for maintaining optimal cooling efficiency and prolonging the lifespan of your air conditioning system. By identifying and addressing these issues early, homeowners can avoid costly repairs and ensure a comfortable indoor environment.
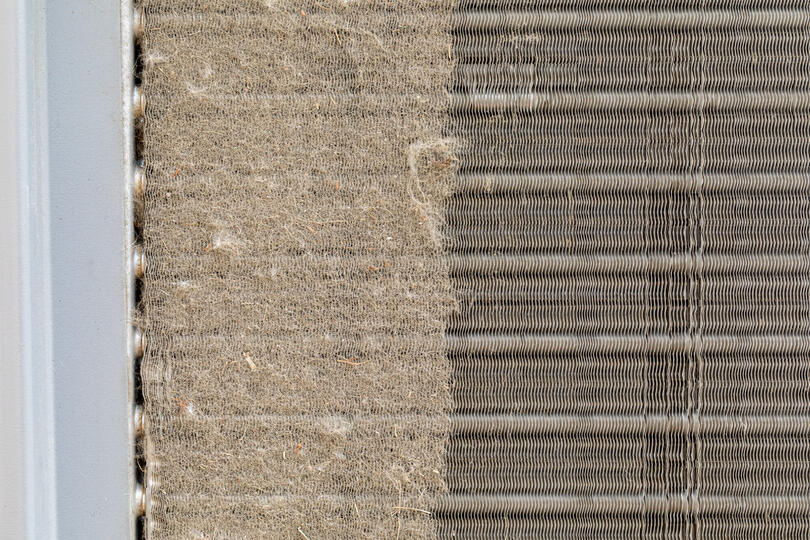
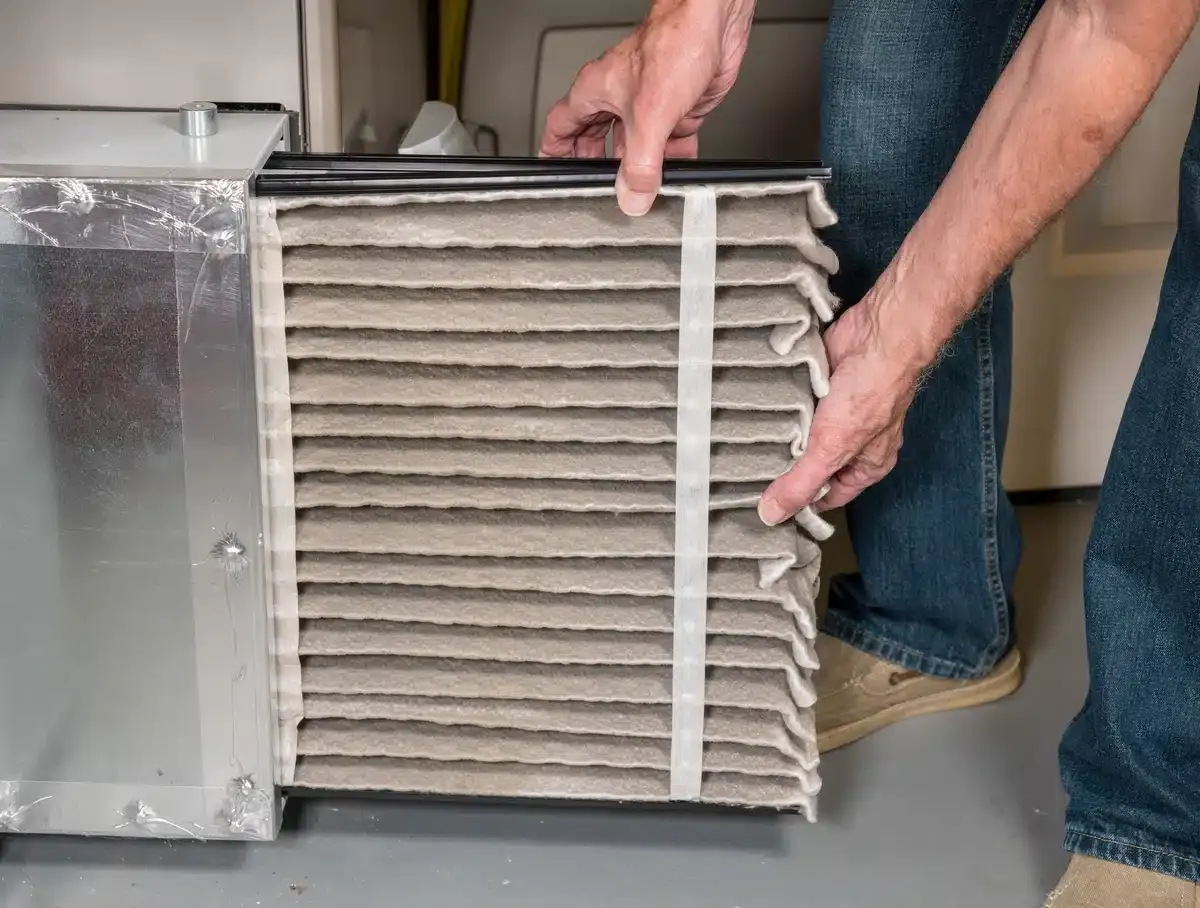
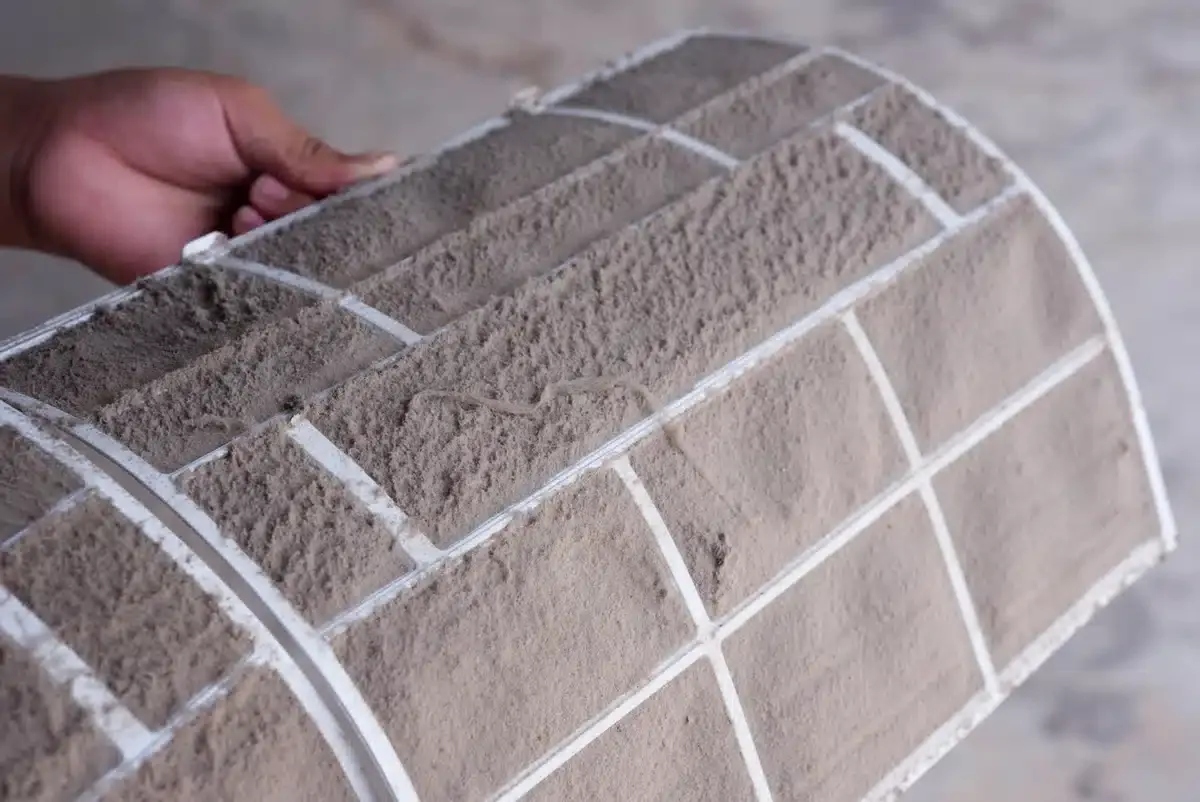
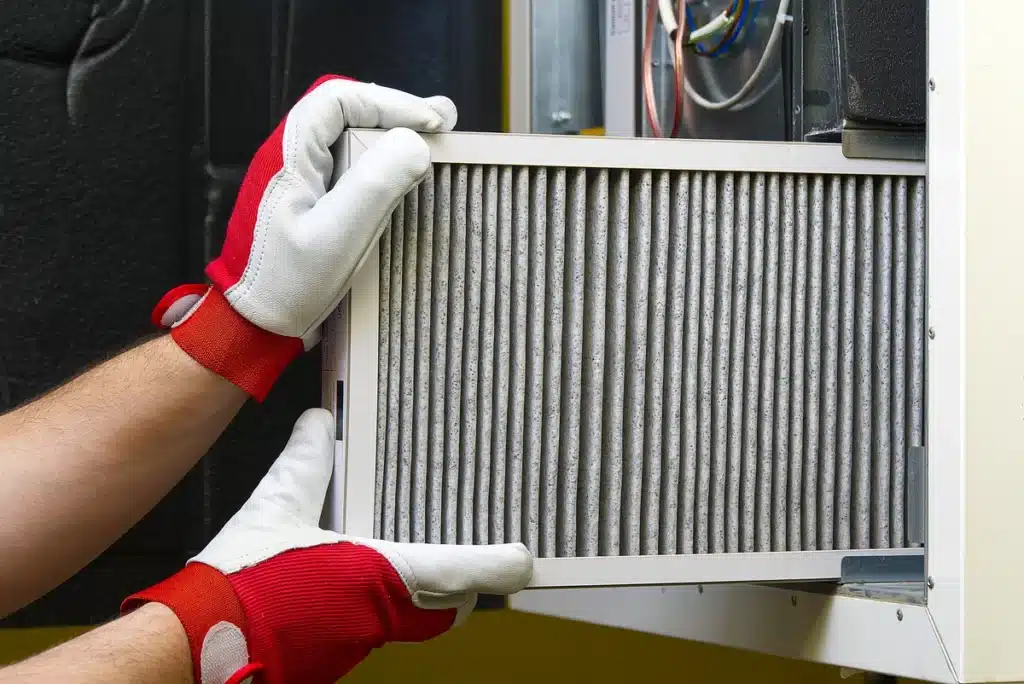
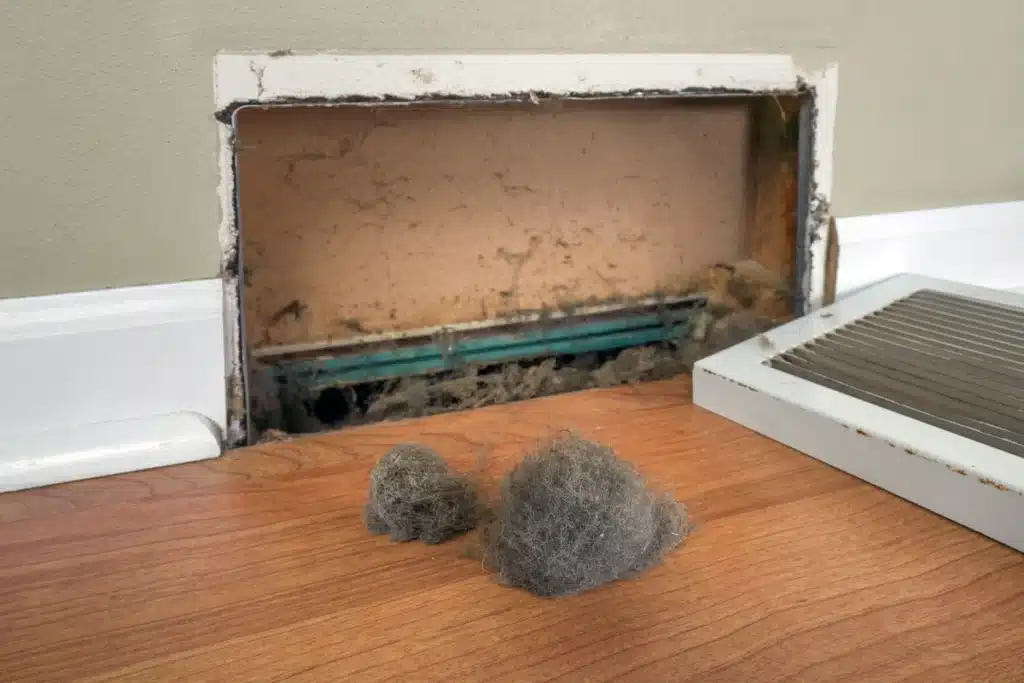
Dirty Coils: Dirty condenser coils can significantly reduce the efficiency of your AC system. Regular cleaning can prevent this issue.
Refrigerant Leaks: Leaks in the refrigerant lines can cause the system to lose its cooling capacity. It’s essential to address refrigerant leaks promptly to prevent damage.
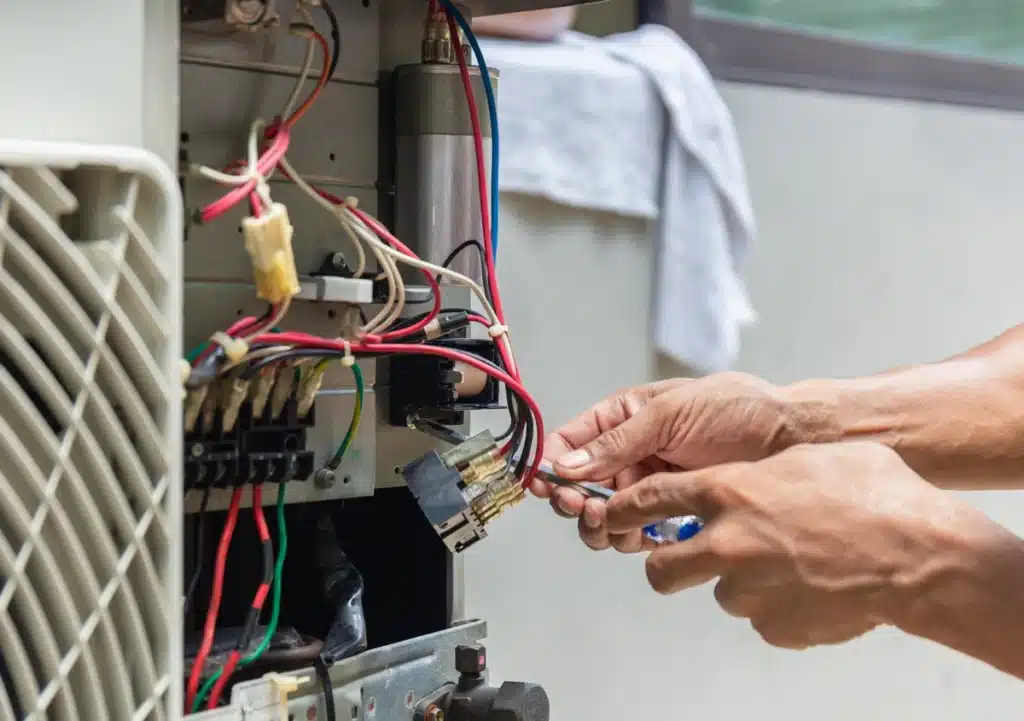
Electrical Issues: Faulty wiring or electrical components can cause the condenser to malfunction. Regular inspections can help identify and fix these issues.
✅ Benefits of Regular AC Condenser Maintenance
Regular maintenance of your AC condenser is crucial for ensuring optimal performance and efficiency. It helps prevent breakdowns, extends the lifespan of the unit, and can lead to significant energy savings, keeping your home comfortable while reducing utility costs.
1. Improved Efficiency
Regular maintenance ensures your condenser operates at peak efficiency, providing better cooling and lower energy bills. This not only enhances comfort but also reduces overall energy consumption, making your system more eco-friendly.
2. Extended Lifespan
Routine maintenance can extend the lifespan of your AC system, preventing costly repairs and replacements. By addressing minor issues before they escalate, you can enjoy a longer-lasting unit that serves you well for years.
3. Enhanced Comfort
A well-maintained condenser ensures your home remains cool and comfortable, even during the hottest days. This consistent performance contributes to a more enjoyable living environment, allowing you to relax without worrying about temperature fluctuations.
4. Better Air Quality
Regular maintenance helps prevent dirt and debris buildup, promoting cleaner air and reducing allergens in your home. This is especially beneficial for those with allergies or respiratory issues, as it creates a healthier indoor atmosphere.
5. Fewer Breakdowns
Routine check-ups can identify potential issues early, reducing the likelihood of unexpected breakdowns. This proactive approach not only saves you from the inconvenience of sudden failures but also reduces repair costs over time.
6. Lower Environmental Impact
An efficient AC system consumes less energy, leading to a smaller carbon footprint and environmentally friendly performance. By investing in maintenance, you’re contributing to a sustainable future while enjoying comfortable indoor temperatures.
7. Warranty Protection
Keeping up with maintenance often ensures that your warranty remains valid, protecting your investment in the long run. This peace of mind means you can enjoy your AC system without worrying about voiding crucial coverage.
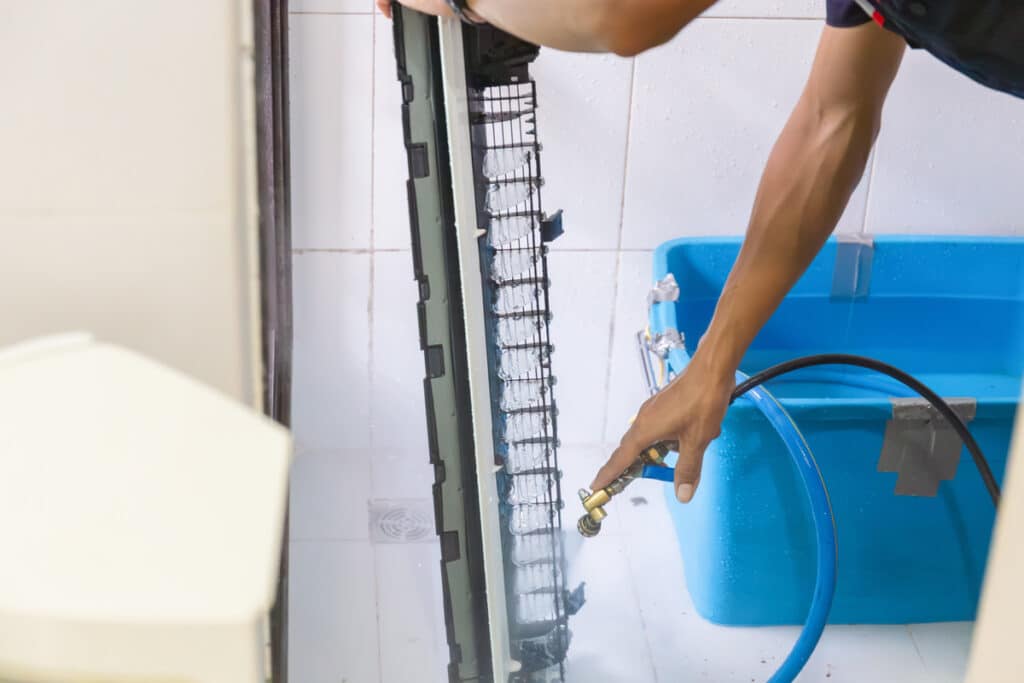
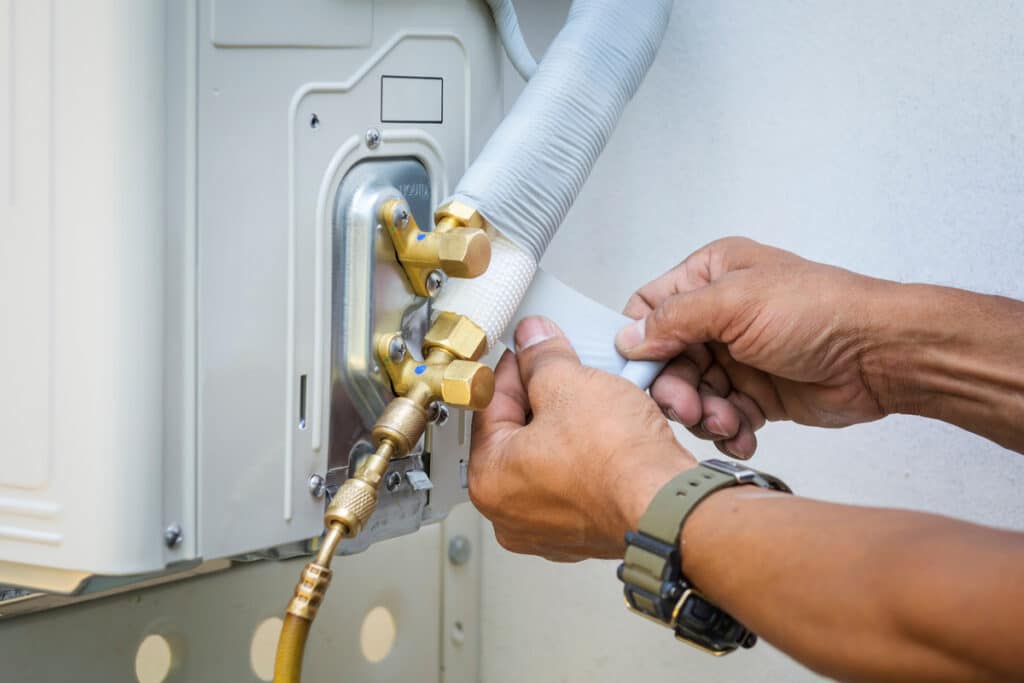
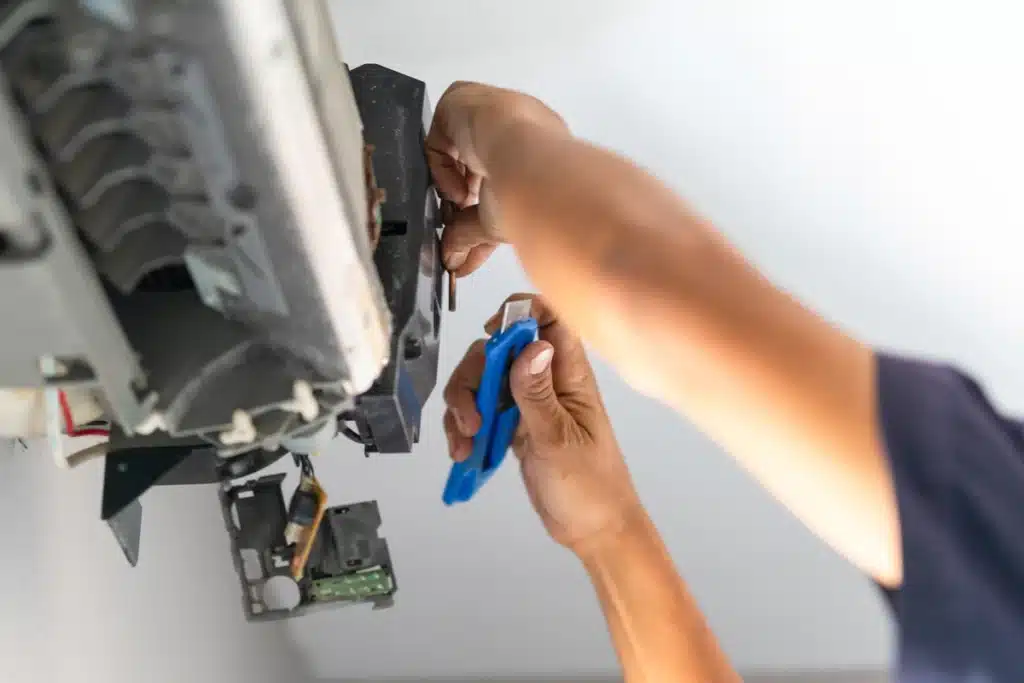
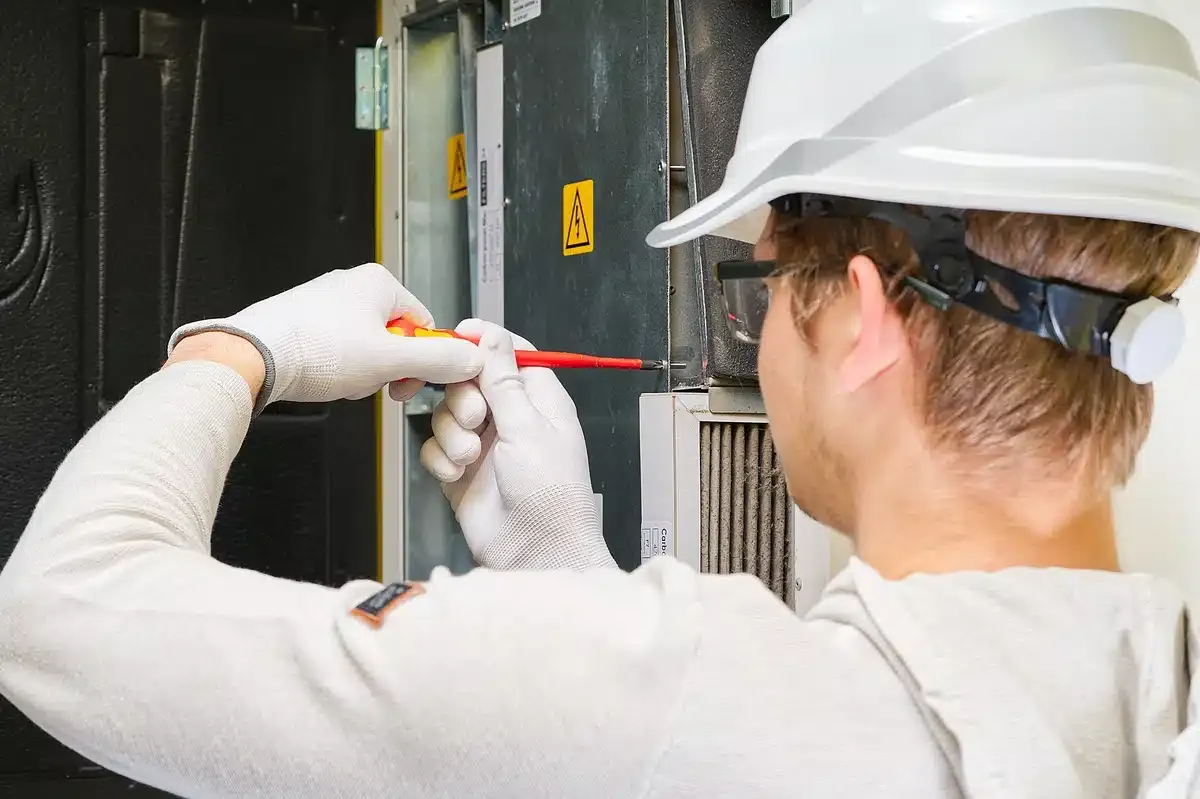
Professional Maintenance vs. DIY
Pros of Professional Maintenance
Professional technicians have the expertise and tools to perform thorough maintenance, ensuring all components are in good working condition.
Cons of DIY
While DIY maintenance can save money, it may not address all potential issues, leading to costly repairs down the line.
Deciding What’s Best for You
Consider your comfort level with DIY tasks and the complexity of the maintenance required. For critical issues, professional maintenance is often the best choice.
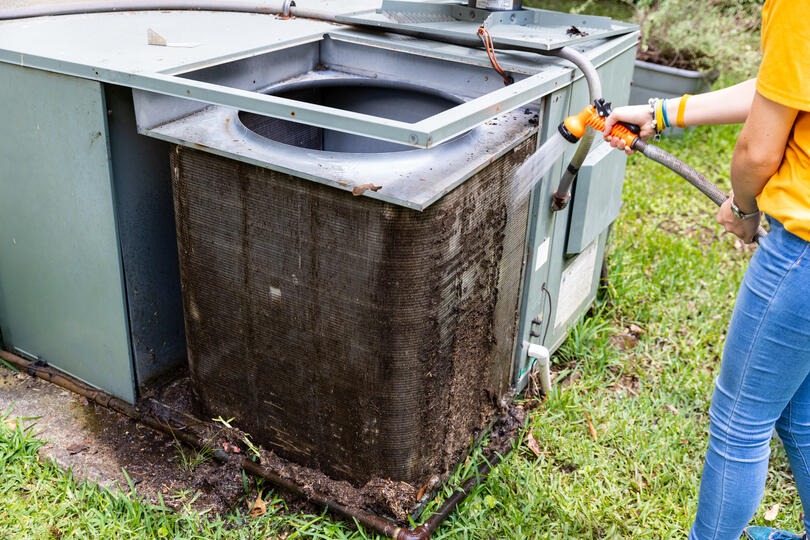
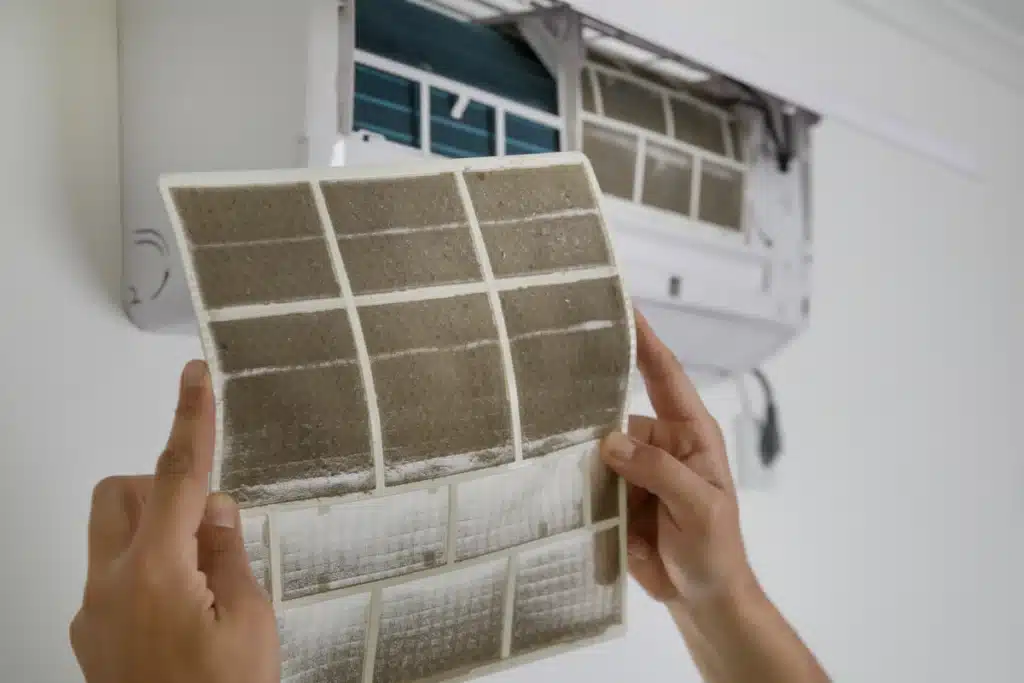
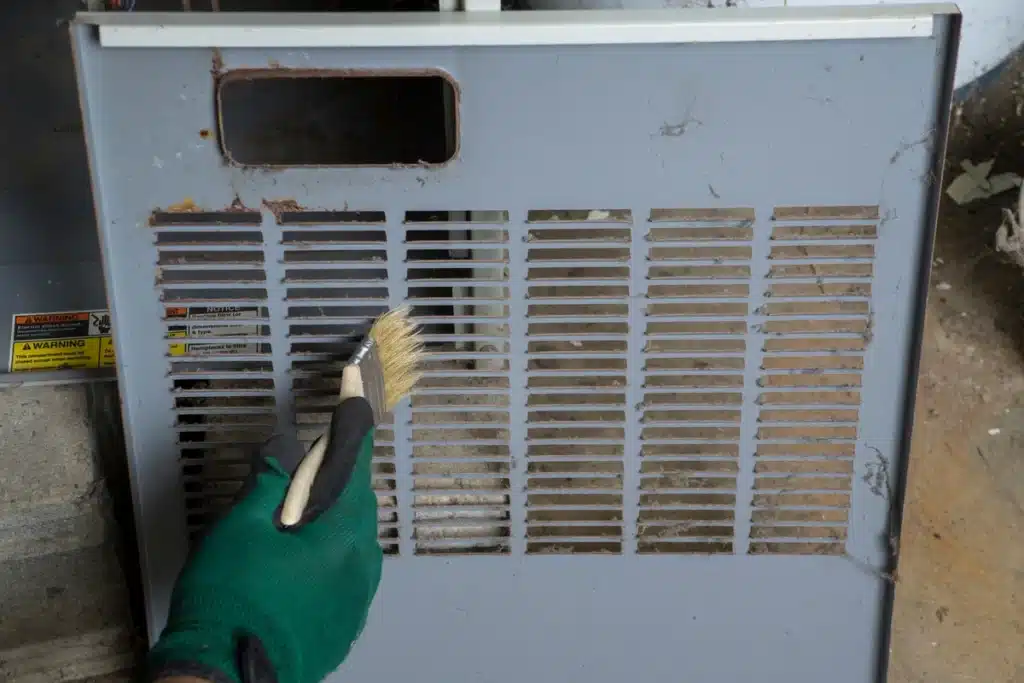
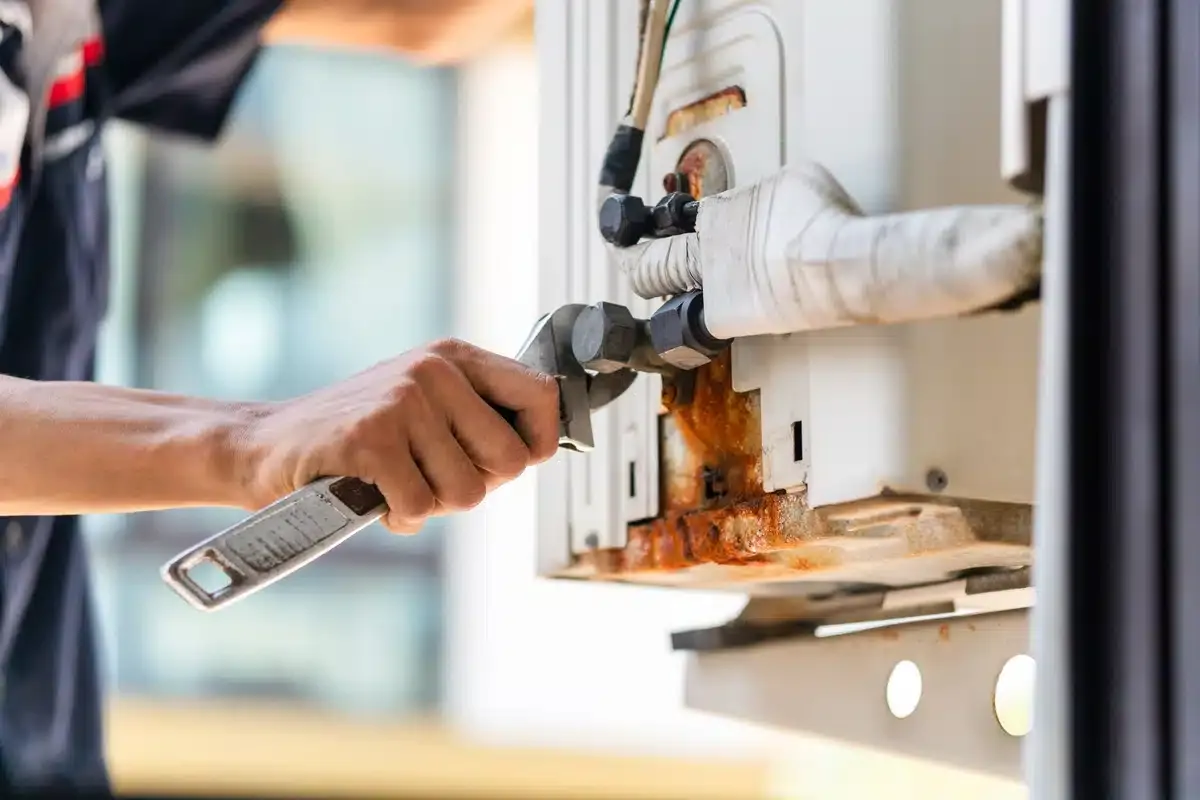
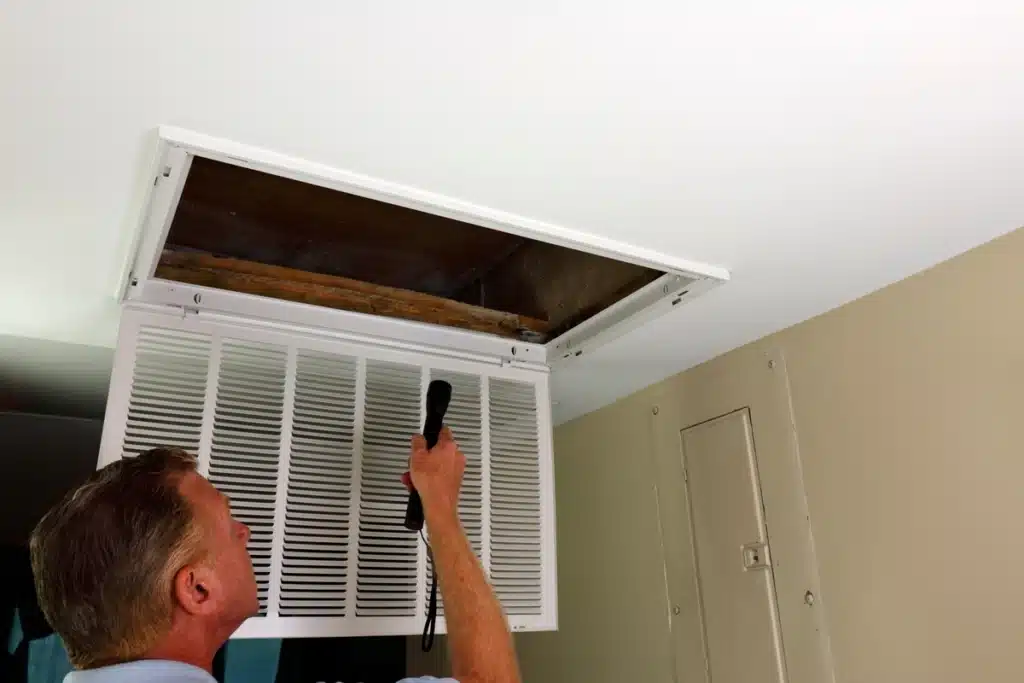
How to Clean Your AC Condenser
Cleaning your AC condenser is crucial for maintaining optimal efficiency and prolonging the lifespan of your air conditioning unit. A clean condenser ensures better airflow and heat exchange, which can lead to reduced energy costs and improved cooling performance.
Turn Off the Power
Before cleaning, always turn off the power to the condenser to ensure safety. This is a vital step to prevent any electrical accidents and to allow you to work on the unit without risk.
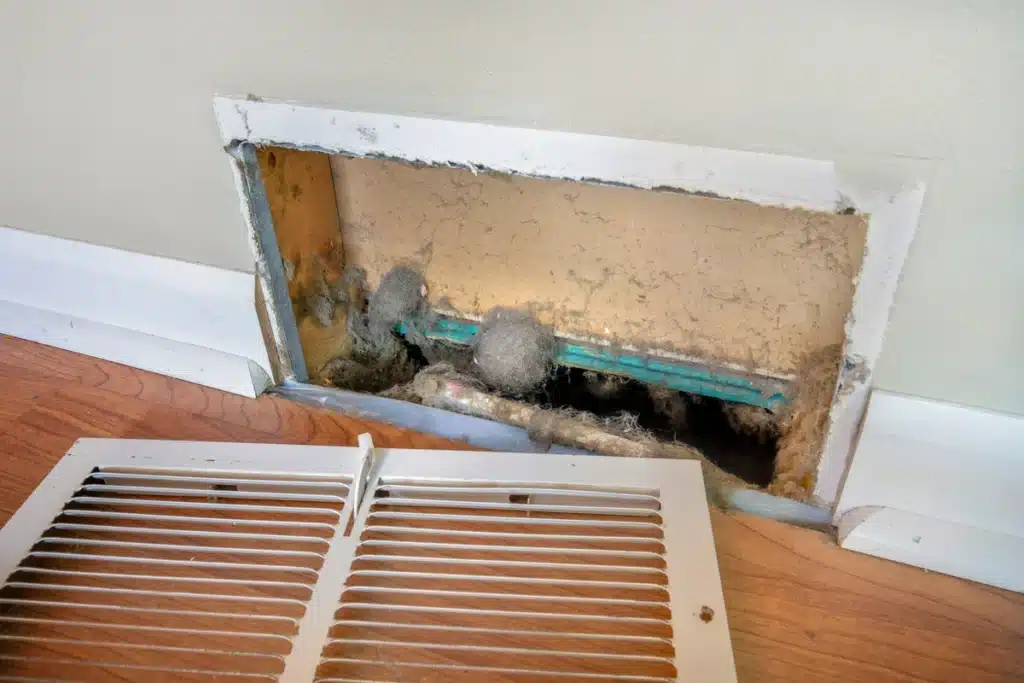
Remove Debris
Clear any debris, leaves, or dirt from around the condenser unit to ensure proper airflow. This involves checking not just the top but also the sides of the unit, as well as the surrounding area. Regularly removing debris helps maintain efficient air circulation and prevents overheating.
Clean the Coils
Use a coil cleaner or a mixture of water and mild detergent to clean the condenser coils. Gently spray or apply the cleaner and scrub if necessary, being cautious not to damage the fins. Rinse thoroughly and allow them to dry before turning the power back on. This step is important as dirty coils can significantly hinder the cooling efficiency of your AC unit.
❓ FAQs

Q: How Often Should I Clean My AC Condenser?
It’s recommended to clean your condenser at least once a year, preferably before the cooling season begins.
Q: Can I Replace My AC Condenser Myself?
While some DIY enthusiasts may be able to handle condenser replacement, it’s generally best to hire a professional to ensure proper installation and avoid potential issues.
Q: What Are the Signs of a Failing AC Condenser?
Signs of a failing condenser include reduced cooling efficiency, strange noises, and increased energy bills. Regular maintenance can help prevent these issues.
🙌 Ensuring Optimal AC Condenser Performance for a Comfortable Home
Ensuring the optimal performance of your AC condenser is crucial for efficiency, longevity, and comfort in your home. At Thelen Plumbing, Heating, and Air, our dedicated team brings extensive expertise in HVAC systems, providing reliable maintenance and repair services tailored to your specific needs. We understand the importance of a well-functioning condenser and are committed to delivering top-notch service with a focus on quality and customer satisfaction. Don’t let AC issues linger—trust the professionals at Thelen Plumbing, Heating, and Air to keep your system running smoothly. Contact us today to schedule your maintenance appointment and ensure your home stays cool and comfortable all season long!