Best Air Purifier for HVAC System (Homeowners Guide)
Imagine breathing cleaner, fresher air every time you walk into your home. A high-quality air purifier integrated with your HVAC system doesn’t just enhance comfort; it promotes healthier living by filtering out allergens, dust, and pollutants. If you’re a homeowner considering the best air purifier for your HVAC system, you’re in the right place. What we’ll cover in this guide:
- Why you need an air purifier for your HVAC system
- Top recommendations for the best air purifier for HVAC systems
- How to choose the best air purifier for your system
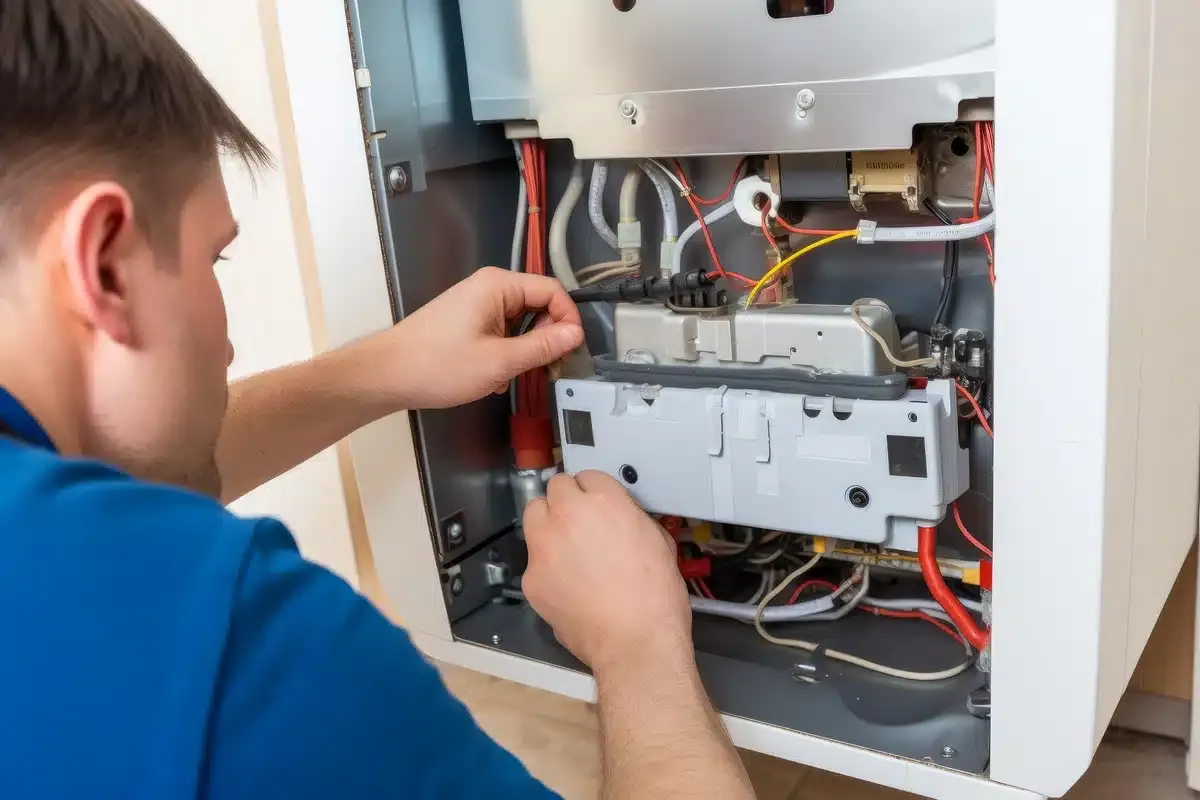
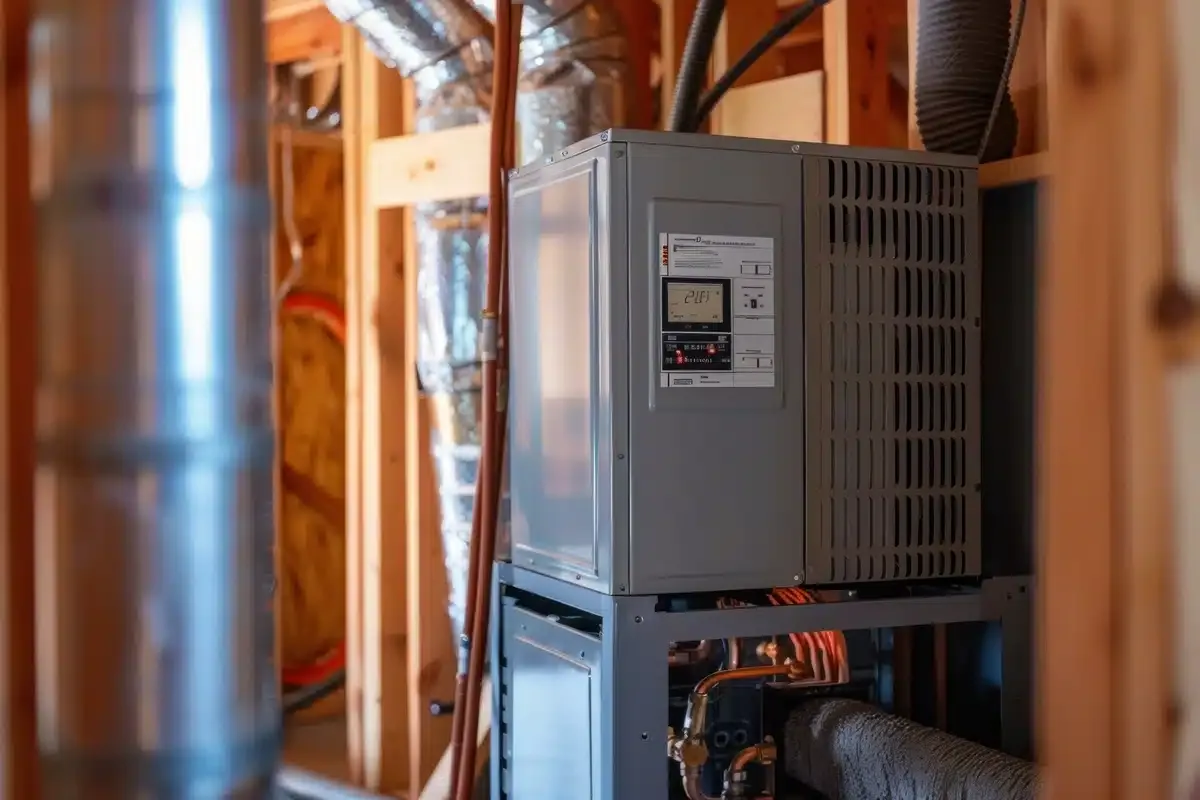
🤔 Why You Need an Air Purifier for Your HVAC System
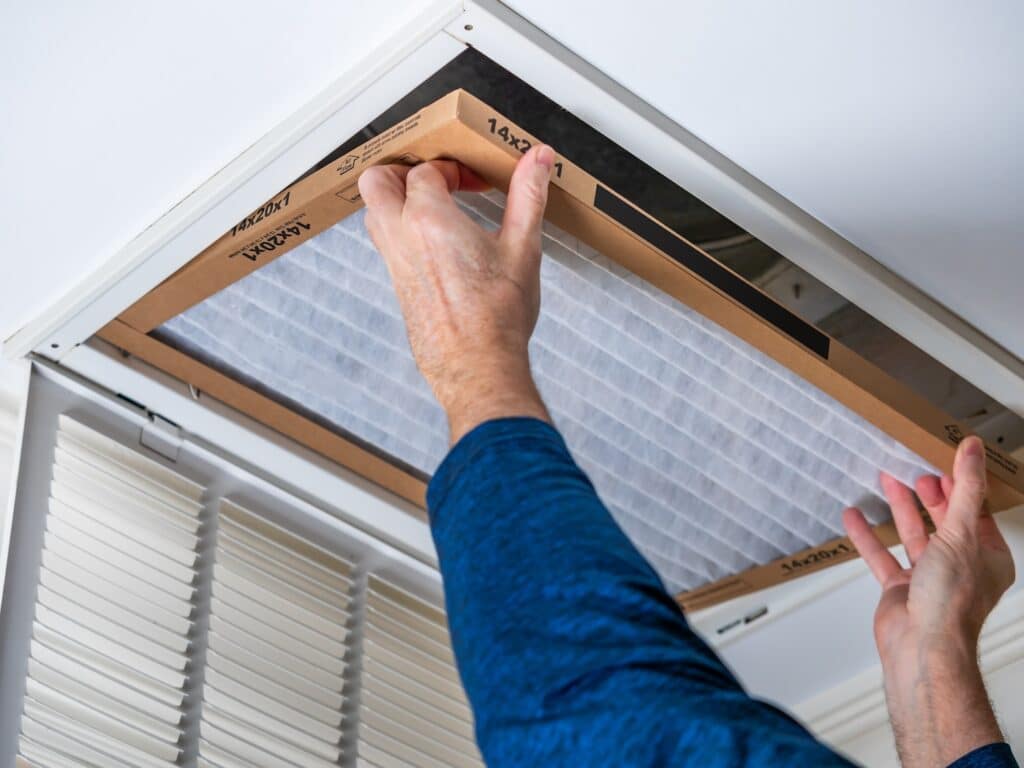
The air inside your home might not be as clean as you think. Everyday activities like cooking, cleaning, and even pet dander can release pollutants into the air. Outdoor elements like pollen and exhaust fumes can also seep into your home, and your HVAC system can unintentionally circulate dust, mold spores, and other contaminants throughout your living spaces. All of this can negatively affect the air you breathe daily.
Installing an HVAC-compatible whole house air purifier is a powerful solution to combat these issues. These systems work to filter out harmful particles, allergens, and pollutants, leaving your home with fresher, cleaner air. This is especially important for people who suffer from allergies or asthma, as poor air quality can trigger symptoms and make breathing more difficult. Even for those without specific respiratory conditions, reducing exposure to airborne pollutants is key to maintaining overall health and well-being.
Benefits of an HVAC Air Purifier
- Cleaner indoor air quality: Air purifiers filter out allergens, dust, pet dander, and pollen for a healthier indoor environment.
- Reduces allergies and irritants: Removes irritants from the air, benefiting those with allergies or respiratory issues.
- Prolongs HVAC lifespan: Reduces particle buildup, improving system efficiency and minimizing wear and tear.
- Combats odors: Eliminates cooking smells, smoke, and pet odors effectively.
- Boosts energy efficiency: Keeps filters and air ducts cleaner, enhancing HVAC efficiency.
👉 6 Best Air Purifiers for HVAC Systems
Here’s our list of top recommendations for air purifiers:
1. Aprilaire 5000
The Aprilaire 5000 is a top choice for those seeking whole-home air purification. Known for its HEPA-grade efficiency, this unit can remove up to 98% of allergens, including pollen, dust, and pet dander. It works seamlessly with your home’s HVAC system, ensuring consistent air quality throughout your living space. Ideal for allergy sufferers or anyone looking to breathe cleaner air, the Aprilaire 5000 delivers impressive performance without increasing energy costs. Its easy maintenance and long-lasting filters make it a convenient and reliable option for healthier indoor air.
2. Honeywell F300E1019
The Honeywell F300E1019 is a powerful electronic air cleaner designed to tackle microscopic particles in your indoor air. Using advanced filtration and ionization technology, this model can trap dust, smoke, and even some bacteria, leaving your home with a fresher, cleaner atmosphere. It’s a low-maintenance system, requiring only occasional washing of its permanent filter, and it’s energy-efficient, making it easy to integrate into your home. Perfect for families or anyone living in urban areas with high pollution levels, the Honeywell F300E1019 ensures a healthier and more comfortable environment.
3. Lennox PureAir S
The Lennox PureAir S goes beyond traditional air purifiers by combining UV light technology, activated carbon filters, and a MERV 16 filter to provide comprehensive air cleaning. This system not only removes airborne particulates like dust and allergens but also kills bacteria, mold spores, and viruses. Additionally, the activated carbon filters are highly effective at eliminating chemical odors, such as those from cleaning products or cooking. The PureAir S is designed for maximum efficiency and works with Lennox smart thermostats, allowing you to monitor and control your home’s air quality easily.
4. Trane CleanEffects Air Cleaner
The Trane CleanEffects Air Cleaner is engineered to deliver exceptionally clean air, removing up to 99.98% of airborne particles, including ultra-fine particles as small as 0.1 microns. This makes it an excellent choice for households with severe allergy or asthma concerns. The system uses patented technology to trap more allergens and pollutants than standard filters, ensuring that your home’s air is as clean as possible. It is also energy-efficient and operates quietly, providing a stress-free solution for maintaining a healthier home environment. With easy-to-clean reusable filters, the Trane CleanEffects is both effective and cost-efficient.
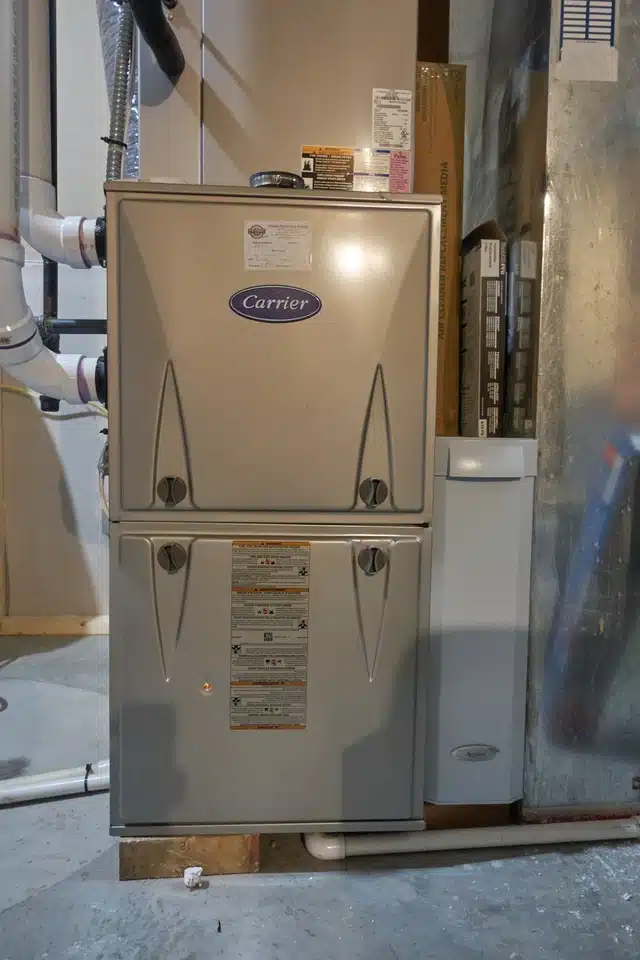
5. Carrier Infinity Air Purifier
The Carrier Infinity Air Purifier is a cutting-edge system that uses an advanced filtration process to trap and kill harmful airborne pathogens, including bacteria, viruses, and mold. Its Captures & Kills™ technology ensures that your indoor air is not only cleaner but also safer for your family. The system also removes allergens and reduces odors, creating a fresher and healthier living space. Designed to integrate seamlessly with Carrier HVAC systems, the Infinity Air Purifier is perfect for anyone looking to improve air quality and protect against harmful contaminants, especially during flu or allergy seasons.
6. AtmosAir Solutions
AtmosAir Solutions offers a unique and environmentally friendly approach to air purification. Unlike conventional systems, AtmosAir uses active ionization technology to neutralize contaminants in the air, including allergens, mold spores, and even airborne viruses. This green technology doesn’t just filter the air; it actively improves it, ensuring your home or office is healthier and more sustainable. Ideal for eco-conscious consumers, AtmosAir is used in residential, commercial, and even healthcare settings to deliver high-quality air without relying on heavy energy use or disposable filters. It’s a smart choice for those prioritizing both clean air and environmental responsibility.
⚖️ How to Choose the Best Air Purifier for Your HVAC System
Not all air purifiers are created equal. Make sure to look for the following factors:
Compatibility
Before purchasing an air purifier, make sure it is compatible with your HVAC system. Not all purifiers are designed to work seamlessly with every type of system. Check the specifications carefully to ensure it matches your model and won’t cause inefficiencies or damage to your HVAC setup. Compatibility ensures optimal performance and avoids unnecessary costs down the line.
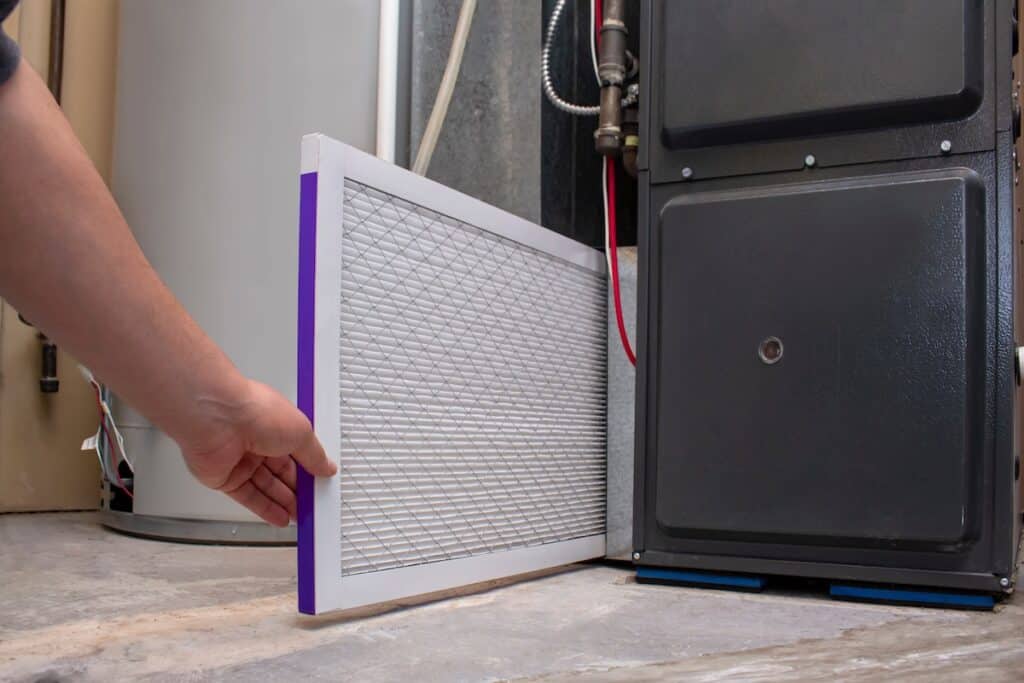
Filtration System
The type of filtration system is crucial for effective air purification. HEPA filters are excellent for capturing small particles like dust, pollen, and pet dander, making them a must for allergy sufferers. Activated carbon filters are highly effective at removing odors and harmful gases, while UV-C light technology helps eliminate bacteria, viruses, and mold spores. A purifier with a combination of these technologies will provide the best overall air quality improvement.
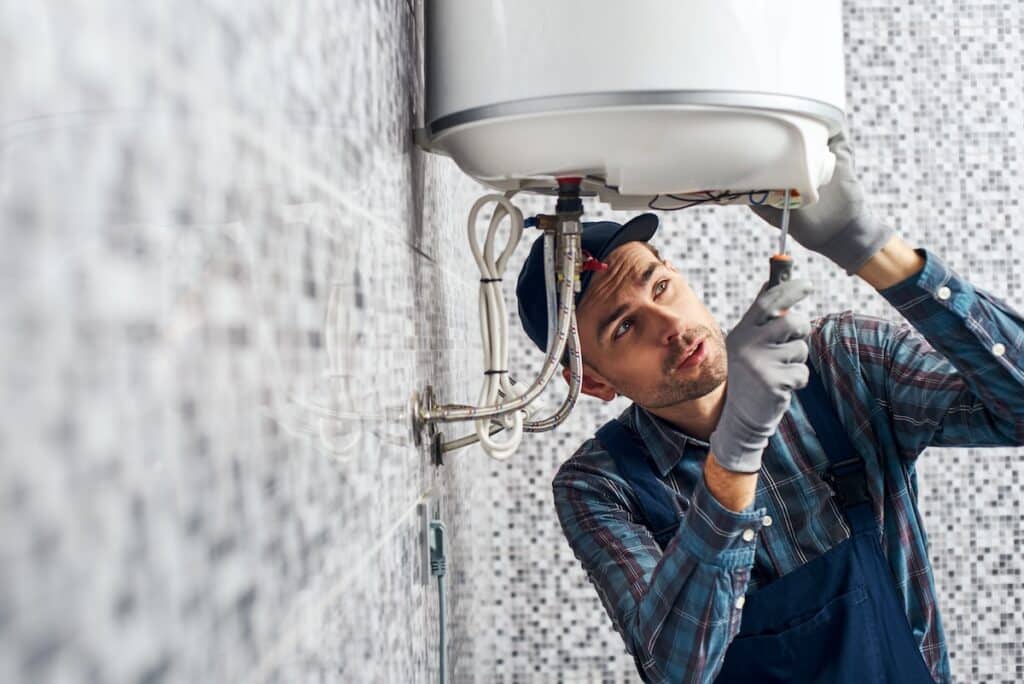
Maintenance Requirements
Air purifiers vary in their maintenance needs, so it’s important to choose one with convenient upkeep. Look for models with easy-to-replace filters that don’t require tools or complex steps. Consider how often filters need to be replaced and the associated cost. Minimal maintenance reduces hassle and ensures the purifier continues to function efficiently over time.
Coverage
The size of the space the purifier can handle is a critical factor. Check the product’s specifications to ensure it can cover the square footage of your home or the specific room where it will be used. Using a purifier in a space larger than its capacity can reduce its effectiveness, while selecting one with adequate coverage ensures optimal air cleaning performance.
Certified Air Quality Standards
For peace of mind, choose a purifier that meets recognized industry standards. Certifications like MERV (Minimum Efficiency Reporting Value) ratings indicate the purifier’s efficiency in trapping particles. Other certifications, such as Energy Star, can also signal energy-efficient operation. These standards guarantee the purifier’s reliability and performance, helping you make an informed decision.
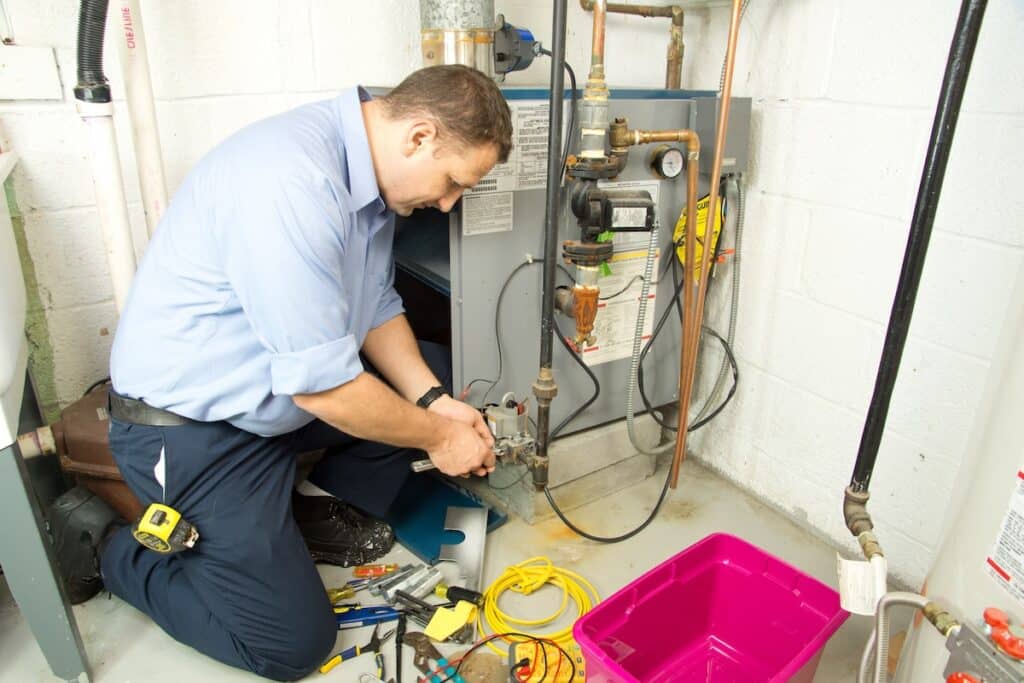
💨 HVAC Air Purifiers
At Thelen Plumbing, Heating, and Air, we understand that choosing the best air purifier for your HVAC system is an important step toward creating a healthier, more comfortable home. With our expert technicians, personalized recommendations, transparent pricing, and commitment to customer satisfaction, you can trust us to help you find the perfect solution for your needs.
Ready to improve your home’s air quality? Contact Thelen Plumbing, Heating, and Air today for a consultation and take the first step toward breathing cleaner, fresher air!